PBX-specific configuration: innovaphone via SIP trunk – softphone functions via SIP system networking
This guide describes how to set up softphone functions (SIP) for ProCall Enterprise via "SIP trunk connection" (SIP system networking) for the innovaphone telephone system and what you should bear in mind.
| State of knowledge | October 2022 |
|---|---|
| ProCall Enterprise | from V 8.0 |
| PBX | innovaphone IPVA Release: 13SR1 |
| Softphone functions connection | SIP Trunk connection |
Configuration in the PBX
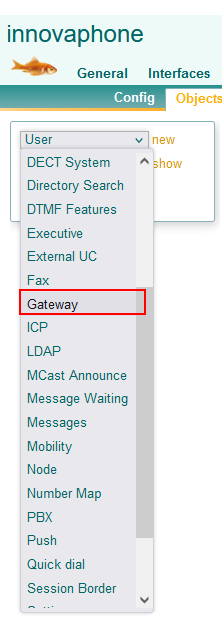
Create gateway object
Create a gateway object with the default settings.
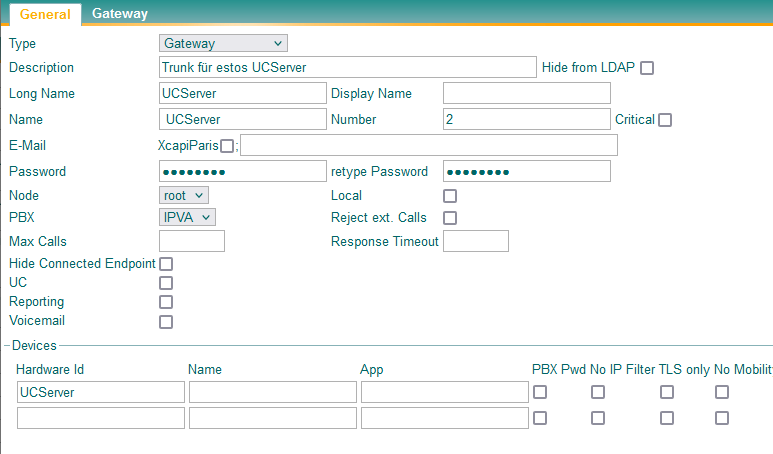
The name and the assigned password must be entered in the UCServer.
Set the through-dial range for the trunk.
Example screenshot: Gateway – Trunk for UCServer – Number
In this example, all incoming calls for destination numbers DW 2* are routed to the trunk (to the UCServer).
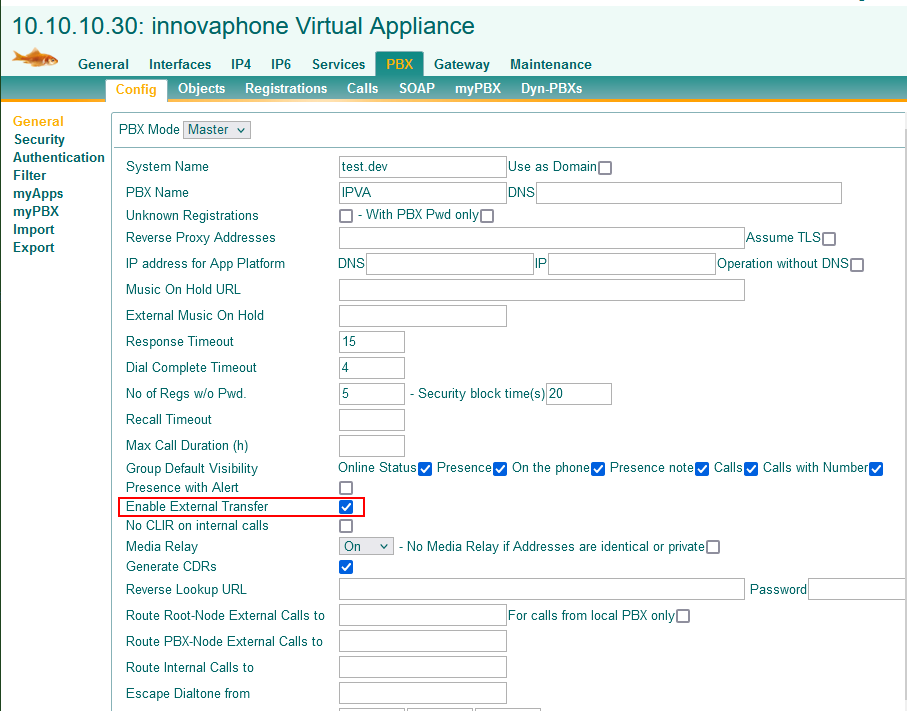
To enable transfers in the SIP trunk, the option "Enable External Transfer" must be activated in the Config "General".
Example screenshot: innovaphone Virtual Appliance – General – PBX – Config – Master –Enable external transfer
UCServer setup
Add telephone system
Add the telephone system via the select "Add telephone system - SIP softphone via SIP trunk".
Example screenshot: UCServer administration – SIP softphone via SIP trunk – Add innovaphone telephone system

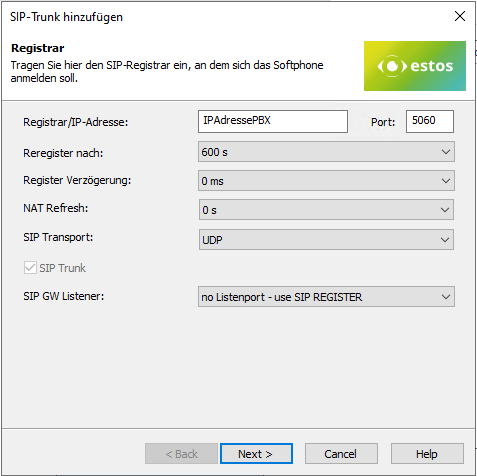
Enter IP address
Enter the IP address of the innovaphone telephone system. Make sure that nothing is selected under "SIP GW Listener".
Example screenshot: Add SIP trunk – specify registrar/IP address
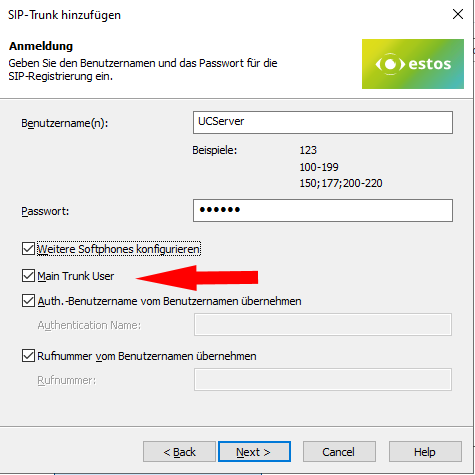
Enter name and password for SIP registration
In the next step, enter the name of the gateway object and the password . Enable the login as "Main Trunk User".
Example screenshot UCServer – Add SIP trunk – Name and password – Login as main trunk user
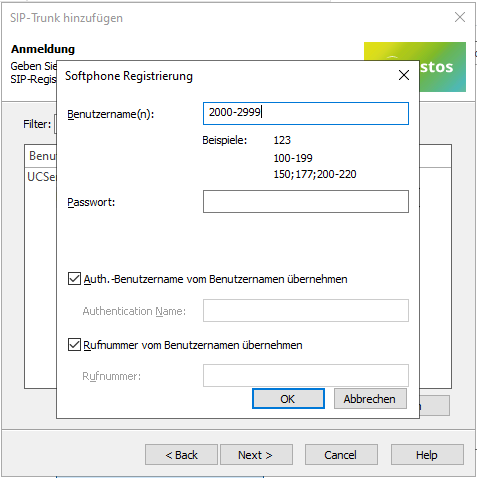
Configure additional softphones – create lines for the direct dial range
Enable "Configure additional softphones" to create the lines for the entire extension range in the next step.
Example screenshot: UCServer – Add SIP trunk – Softphone registration – Lines for trunk group
Alternatively, you can enter the lines later in the line group.
Save and apply
After saving and accepting the configuration, all lines are displayed and activated under the line group.
Version info
As estos has no influence on the further development of the supported telephone systems by the manufacturer, we cannot guarantee that the instructions described above will also be fully valid for future releases.