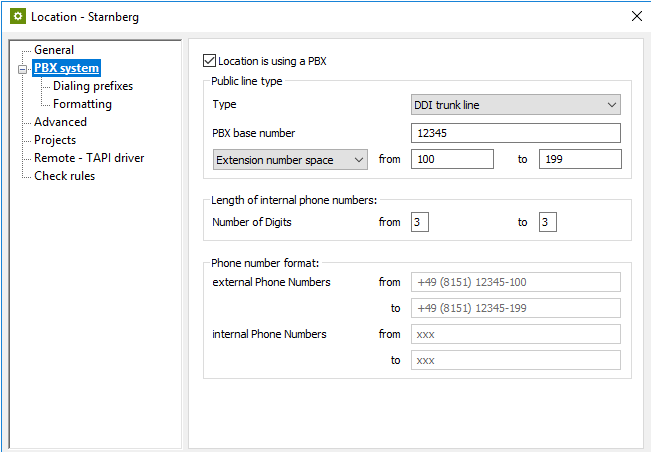
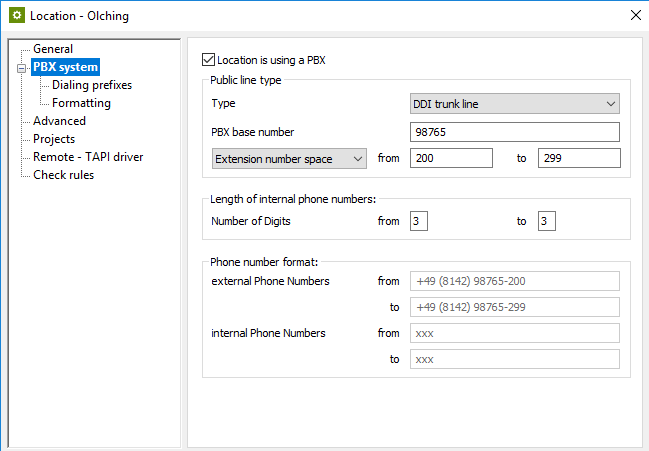
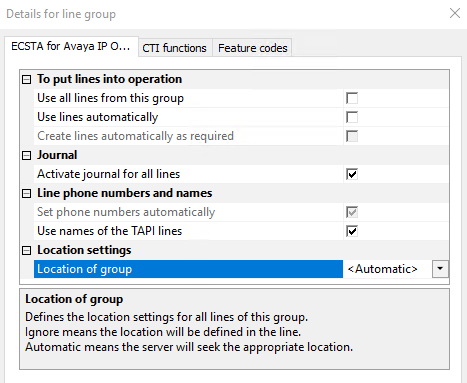
Please note the dependency of the automatic location determination on the automatically determined phone numbers:
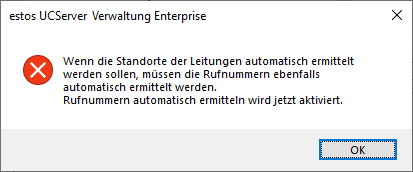
SIP softphone line groups for the connection of PBXs where the phone numbers cannot be determined automatically from the user names must not be set to automatic location determination.